Shea butter, a natural moisturizer derived from the nuts of the shea tree, is renowned for its nourishing properties. However, some users may encounter grainy textures in their shea butter, which can detract from its rich, creamy feel.

Image: www.pinterest.com
In this comprehensive guide, we delve into the causes of grainy shea butter and explore effective methods to rectify this issue. By understanding these techniques, you can enjoy the full benefits of smooth, velvety shea butter.
Causes of Grainy Shea Butter
Grainy shea butter can occur due to several reasons:
- Incomplete Whipping: When shea butter is whipped to create a fluffy texture, under-mixing can result in unblended solids that manifest as grains.
- Crystallization: Under certain storage conditions, shea butter’s triglycerides can crystallize, leading to a grainy texture.
- Additives: The presence of other ingredients, such as essential oils or beeswax, can contribute to graininess by interfering with shea butter’s consistency.
- Low-Quality Shea Butter: Shea butter derived from low-quality sources may contain impurities or adulterants that can result in a grainy texture.
Methods to Fix Grainy Shea Butter
To resolve grainy shea butter, you can employ the following techniques:
- Re-Whip the Shea Butter: Using an electric mixer or immersion blender, re-whip the shea butter until smooth and creamy. Ensure that all solids are thoroughly incorporated.
- Melt and Re-Solidify: Melt the shea butter over low heat. Allow it to cool slightly and then place it in the refrigerator. This process helps recrystallize the triglycerides, resulting in a smoother texture.
- Avoid Temperature Extremes: Store shea butter in a cool, dry place. Extreme temperatures can cause crystallization and graininess.
- Choose High-Quality Shea Butter: Opt for shea butter from reputable sources that ensure purity and quality.
- Use a Warm Butter Knife: Before applying shea butter to your skin, warm the butter knife by immersing it in warm water. This will help spread the shea butter smoothly and eliminate any grains.
Expert Advice and Tips
In addition to the methods described above, consider the following tips from experts:
- Add Carrier Oil: If your shea butter is particularly hard or grainy, adding a small amount of carrier oil, such as almond oil or jojoba oil, can help soften and smooth its consistency.
- Use a Fine-Mesh Strainer: To remove any remaining grains, pour the whipped shea butter through a fine-mesh strainer.
- Patience is Key: Allow the shea butter to solidify completely after re-whipping or melting to ensure a smooth, grain-free texture.
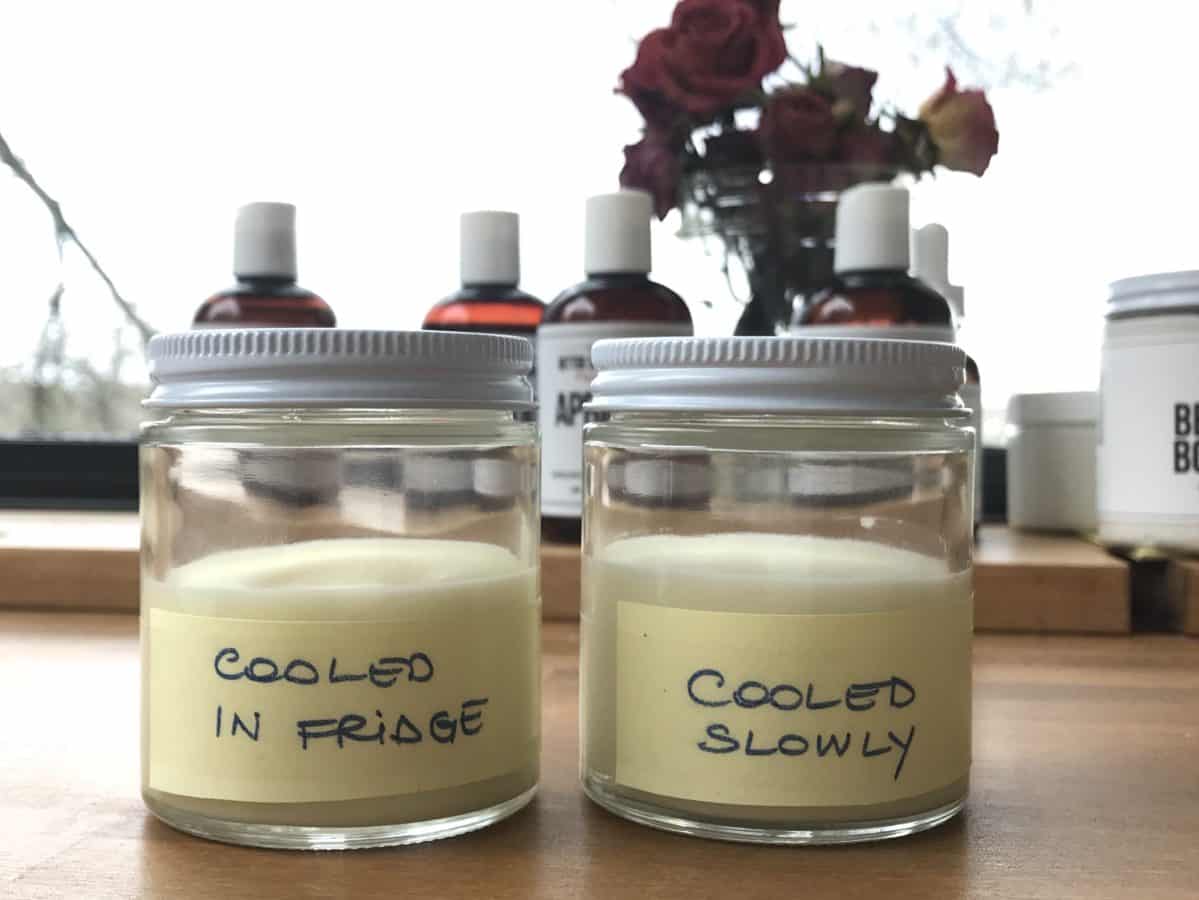
Image: bettersheabutter.com
FAQs on Grainy Shea Butter
Q: Why is my shea butter grainy?
Grainy shea butter can be caused by incomplete whipping, crystallization, additives, or low-quality shea butter.
Q: How do I prevent shea butter from becoming grainy?
To prevent graininess, whip the shea butter thoroughly, store it in a cool, dry place, avoid temperature extremes, and choose high-quality shea butter.
Q: Can I fix grainy shea butter?
Yes, you can fix grainy shea butter by re-whipping, melting and re-solidifying, or adding a carrier oil. However, time and patience are required.
How To Fix Grainy Shea Butter
Conclusion
Grainy shea butter can be a frustrating issue, but it can be easily resolved with the right techniques. By understanding the causes of graininess and following the methods outlined in this guide, you can restore your shea butter to its smooth, velvety texture.
If you have successfully fixed your grainy shea butter, we encourage you to share your experience in the comments below. Your insights may help other readers struggling with this issue. Remember, the path to smooth, nourishing shea butter is just a few simple steps away.
